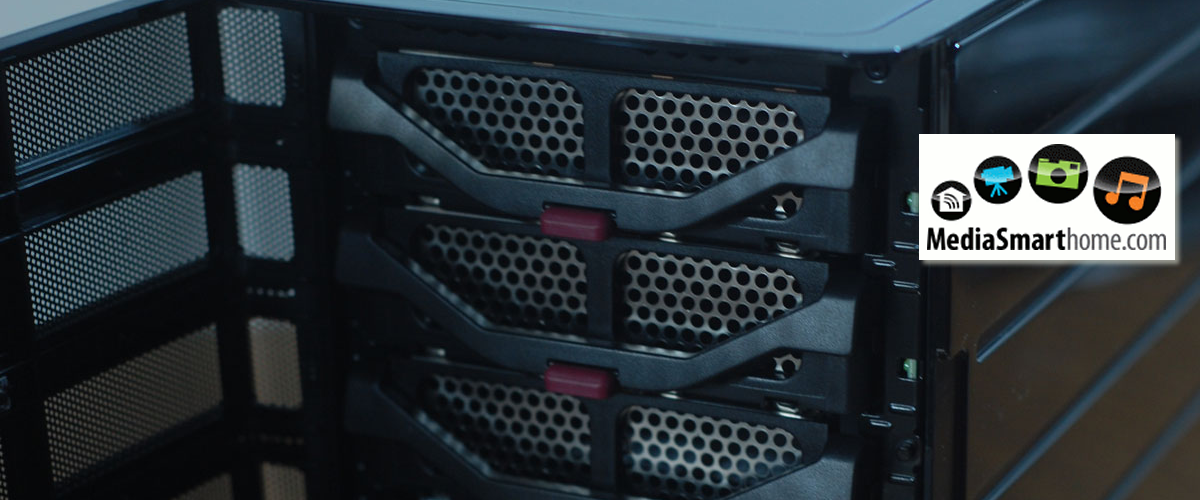
From opening the box to full testing!
Removing the Smoke and Mirrors!
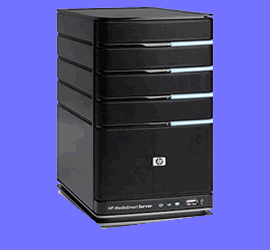
How to setup and use your server.
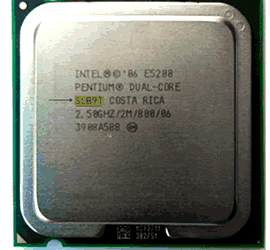
From CPU to Bios this covers it all!
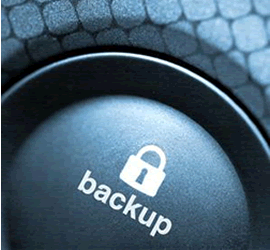
Backup tips and tricks for your server